Udemy – Blender: How to Create the Tiny K-2SO Star Wars Robot
cod2war
11-Nov-20
0
Related Articles
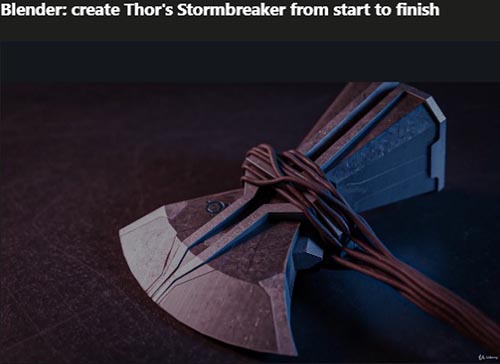
Udemy – Blender: create Thor’s Stormbreaker from start to finish
On 11-Nov-20
by
Udemy – Blender: create Thor’s Stormbreaker from start...
Udemy – Blender: create Thor’s Stormbreaker from start...

Udemy – BLENDER – How to create and rig the Iron Giant
On 22-Mar-21
by
Udemy – BLENDER – How to create and rig the Iron Giant...
Udemy – BLENDER – How to create and rig the Iron Giant...
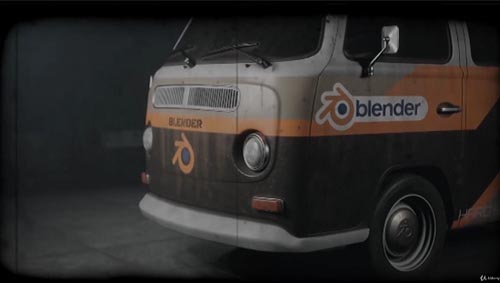
Udemy – BLENDER : Realistic Vehicle Creation From Start To Finish
On 18-Oct-20
by
Udemy – BLENDER : Realistic Vehicle Creation From Start...
Udemy – BLENDER : Realistic Vehicle Creation From Start...
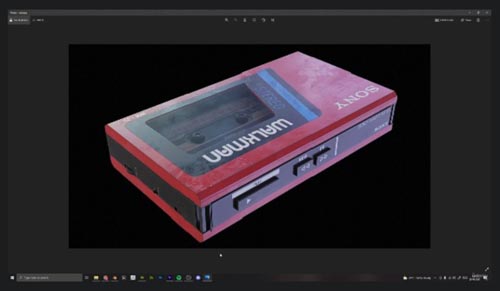
Udemy - Create a 3D Asset in Blender and Substance Painter
On 01-Mar-22
by
Udemy - Create a 3D Asset in Blender and Substance Painter...
Udemy - Create a 3D Asset in Blender and Substance Painter...

Udemy – Creating a Gramophone in Blender and Substance Painter
On 06-Aug-24
by
Udemy – Creating a Gramophone in Blender and Substance...
Udemy – Creating a Gramophone in Blender and Substance...
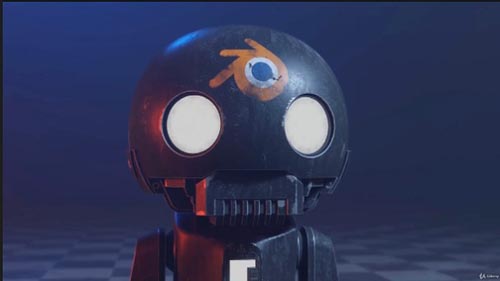
Udemy – Blender: How to Create the Tiny K-2SO Star Wars Robot
Duration 12h 30m Project Files Included MP4
==========
Info:
What you’ll learn
How to use blender and setup the scene
How to model any hard surface object
How to unwrap your object and prepare it for texturing
How to prepare the project to send it to substance painter.
How to create realistic PBR material in Substance Painter.
How to crate your smart material and use it in your project.
How to render the scene with Blender by using Cycles.
Welcome to the k-2SO STAR WAR Robot Blender course, in this course, you will learn how to model and unwrap and add realistic material to your project, we will begin our journey with the most important part ( modeling ) we will start modeling the hole Robot from start to finish and we will use special tools comes default with Blender to accomplish that.
After the modeling section, we will jump to the most important stage, it’s Unwrapping, It’s a very important stage because if you don’t unwrap your model you can’t add the texture above it properly, so because of that I unwrapped all the Robot from start to finish so you can understand the tech neck that I’m using to achieve that quickly and perfectly.
after the Unwrapping section, we need to prepare the project to send it to Substance Painter, so in this stage, we will learn how to send the project correctly to Substance Painter without any problem to prepare it for texturing, and at Substance Painter, we will learn how to create realistic PBR material and how to make it old and dirty to give the project more realism.
After adding material to the Robot now we need to take the Robot back to Blender, so there we will learn how to import the texture from Substance Painter to Blender, and how to add them correctly on the Robot to prepare it for rendering.
then we will render the Robot with the Cycles render engine and make realistic results there, after that I will use the compositor to add some adjustment to the final render.
This course will be full of information, so I hope you benefit from it. and happy learning.
DOWNLOAD HERE :
https://seekvn.com/file/a650e0e80b8700bb4ea16cafaa654efb/UdemyBlenderCreatetheTinyK2SOStarWarsRobot.part1.rar.html
https://seekvn.com/file/fac75be02211a29d77fee9f38bb0dd00/UdemyBlenderCreatetheTinyK2SOStarWarsRobot.part2.rar.html
https://seekvn.com/file/8e49baa60b44df7221b25f908e3905b6/UdemyBlenderCreatetheTinyK2SOStarWarsRobot.part3.rar.html
https://seekvn.com/file/335954bdc7c7b6fc644b8c5d4170d9bc/UdemyBlenderCreatetheTinyK2SOStarWarsRobot.part4.rar.html
https://seekvn.com/file/cad930a0246bf77ba83361ebde05dd9e/UdemyBlenderCreatetheTinyK2SOStarWarsRobot.part5.rar.html
https://seekvn.com/file/156dfa7f00b7ab59f907429ec54eedee/UdemyBlenderCreatetheTinyK2SOStarWarsRobot.part6.rar.html
https://seekvn.com/file/d323d47190f240bfd6fc0ae54eecc975/UdemyBlenderCreatetheTinyK2SOStarWarsRobot.part7.rar.html
DOWNLOAD
Direct Download
If link broken, comment under article, we will update it
Category: Tutorials
Information
Users of Guests are not allowed to comment this publication.